One of my summer projects was to start (and finish) the Japanese Bolt Action figures I purchased as opponents for my Australian troops from Brigade Games (you can see
photos of them here).
 |
| Fresh off the boat and ready for action |
In this case, I just went with a box of plastic Imperial Japanese infantry from
Warlord Games, along with a metal medium machine gun and 81mm mortar. The infantry box didn't come with any bases, so I ordered some from Warlord and some Summer Tufts of grass to make them look good. I think the final results turned out pretty well, as you can see in the photos below.
 |
| Group shot of my completed Japanese |
The infantry box has five sprues, each with six bodies and numerous heads, arms, and weapons to make 30 figures.
 |
| sample Japanese Infantry sprue (from Warlord Games website) |
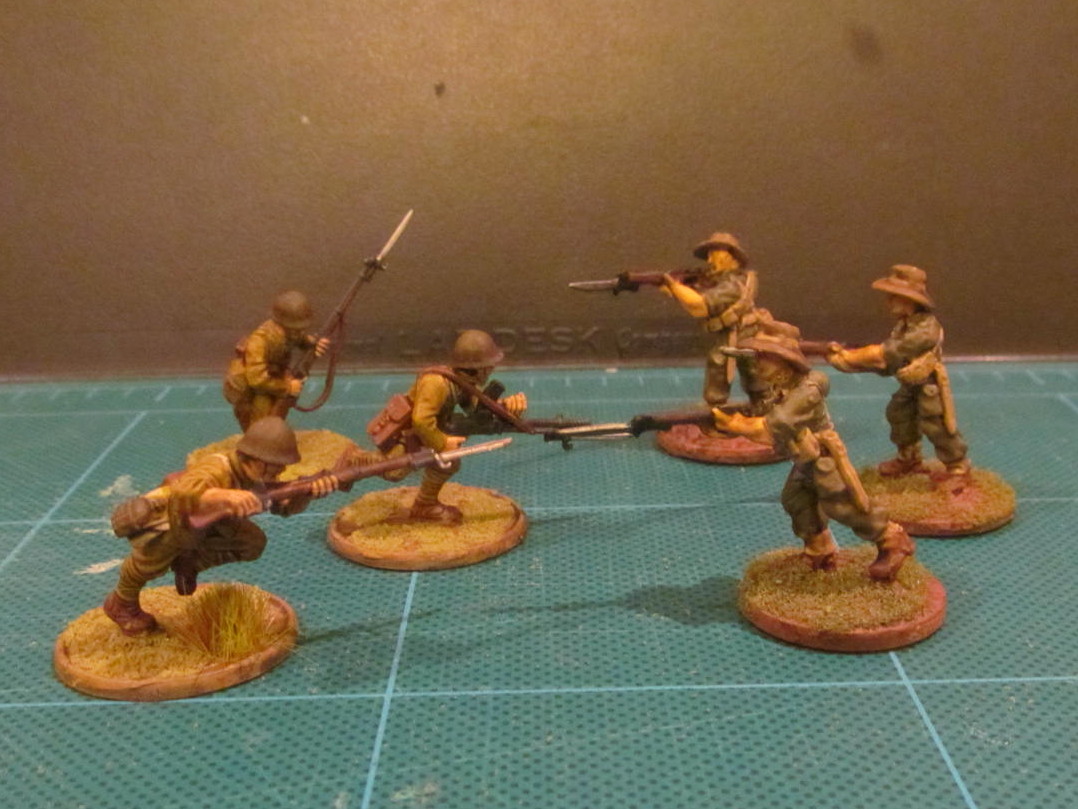
While there are only six body types (one prone, one kneeling, one crouching, and three running/walking fast) all the different head, arm, and weapon configurations can give you a pretty wide range of poses. For the most part, the castings were clean and the figures went together easily. Although I did seem to end up with a lot of my troops looking down toward the ground.
 |
| Examples of the different poses |
The above photo shows a completed figure for each of the body types. Note that the middle figure is carrying a Type 99 light machine gun with a bayonet. I had to create a figure like that because, to me, nothing says Imperial Japanese Army louder than a guy with a machine gun charging because there is a bayonet on the machine gun (in most other WWII armies, the guy would be happy to just stand back and shoot you, but not the Japanese). There are also options for making grenadiers (see the figure on the right) by adding a Type 89 light mortar.
The medium machine gun and 81mm mortar support weapons are metal castings, but the figures did not seem a crisp and clean as the plastic figures. I don't have any other metal figures from Warlord, but I was a little disappointed with these. The figures did include multiple heads, so you can vary the figures a little.
 |
| MMG and 81mm mortar support weapons, along with a plastic figure with an anti-tank lunge mine |
After putting all the troops together (which did take a little while), I got down to painting them up. Since I was planning on using the "dip method" (really brush-on the way I do it) on these guys, I kept the primer and most other colors fairly light. I used Vallejo Japanese Uniform (70.923) for the main uniform color, even though a couple of the painting guides I looked at said it did not match any Japanese uniforms. I also used a leather paint for boots and belts, light brown for webbing and bags, and olive drab for helmets and canteens. After that it was off to the dip for the Emperor's boys, then applying some grass and tufts to the bases. The tufts are interesting to work with. I never got a handle on using static grass (mine often just laid down), so the pre-made tufts were good for me.
Overall, I think the figures turned out pretty well and I ended up with good gaming figures. They seem to fit nicely with my Australians.
 |
| The boys playing "nice" together |
I like the idea of some small battles on New Guinea and I think I've got enough troops to do those. But I might add some more weapons and troops to both sides in the future.
 |
| Banzai! |
With the Japanese Imperial Army done, it is time to get back to some naval projects.